A draught from a window does not automatically mean the gasket is worn or that the whole window needs replacing. Air may be entering between the sash and frame, through the frame-to-wall joint or through another part of the window or installation. Similar discomfort can also be caused by a very cold glass surface even when no clear airflow can be identified.
The first step should therefore be to establish where and under what conditions the problem appears, rather than immediately adjusting the hardware or buying a new gasket. The place where you feel air movement is a useful clue, but it is not a diagnosis.
Is air actually leaking through the window?
Air movement versus the sensation of cold
A clearly felt airflow at a specific point is different from simply feeling cold near the glass or frame. A cold surface can reduce comfort even when there is no obvious point where outdoor air is entering.
If the main problem is the sensation of cold rather than clear airflow, see our separate guide to cold around windows and heat loss.
What is worth observing?
Note whether the problem is constant, only appears in stronger wind or changes when the sash is closed. Check whether air movement is felt at the sash-to-frame contact, around the gasket, along the outside edge of the frame, near the sill or at another specific point.
Also note whether the sash rubs, is harder to close, the handle operates differently than before, or there is visible damage to the gasket or another component. These observations help narrow down the inspection area, but they do not identify the cause by themselves.
Where can an air leak occur?
Between the sash and frame
If air movement is felt where the sash meets the frame, several areas may need checking: gasket condition and seating, sash alignment, hardware operation and the way these components interact when the window closes. The location of the draught alone does not identify one failed component.
Around the gasket
Cracks, sections that have come out of the groove, missing pieces or permanent deformation can be reasons to inspect the gasket more closely. Hardness or softness alone is not enough to decide on replacement; what matters is the actual condition, whether it is correctly seated and whether it seals properly in that window.
At the frame-to-wall joint
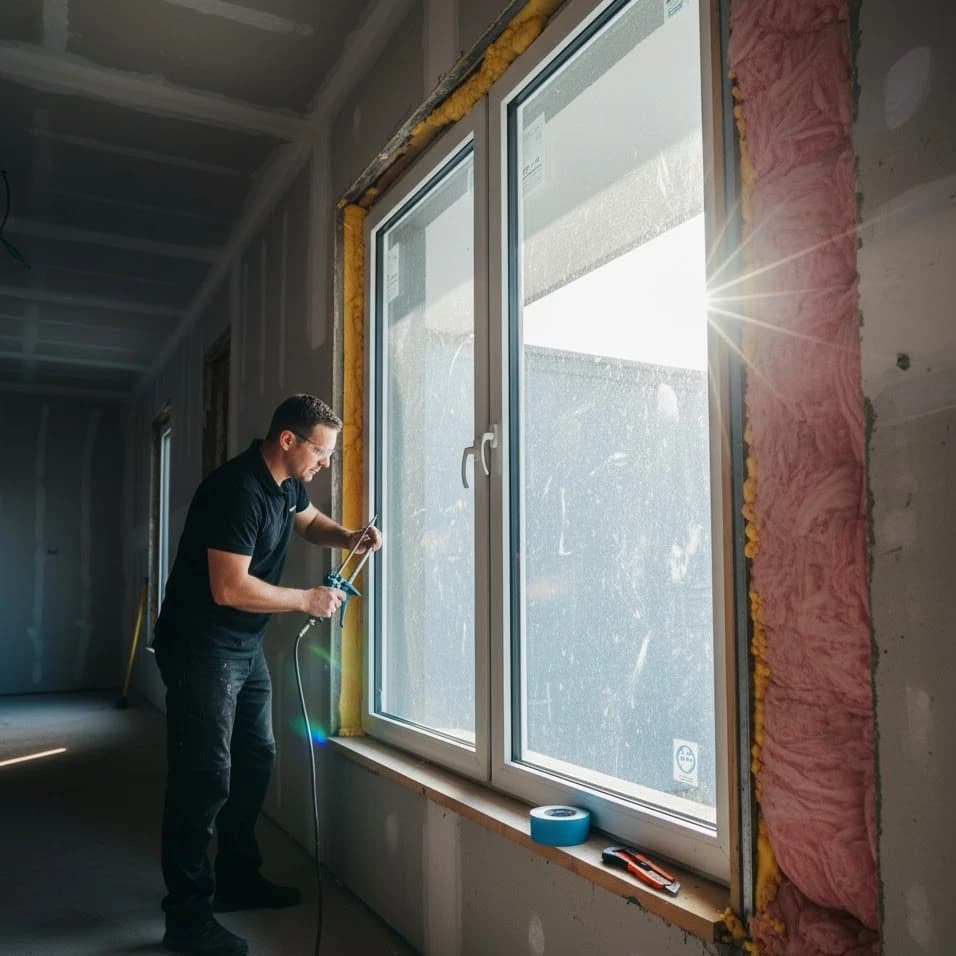
If air movement is felt along the outer edge of the frame or where the frame meets the wall opening, the installation joint should be checked. That observation does not identify which material or layer is leaking; the existing joint and its condition need to be assessed.
Around the sill or other junctions
A draught felt near the sill or another junction around the window does not necessarily come from the sash or gasket. Installation details and the surrounding construction may also need to be inspected, so the assessment should not be limited to the sash itself.
What can you check yourself without adjusting the window?
Inspect the gasket visually
Without dismantling anything, check whether the gasket is properly seated and whether there are cracks, torn sections, areas that have come out of the groove or obvious permanent deformation. There is no need to bend the gasket or judge it by softness in order to decide on a repair.
Check how the sash closes
Open and close the window without using excessive force. Note whether the sash rubs, needs to be lifted or pushed, the handle sticks, or resistance has noticeably increased. These symptoms can justify checking the alignment or hardware.
Note where air movement occurs
If airflow is clearly felt in a particular area, remember the location and pass that information on during diagnosis. The location helps determine what should be inspected first, but it does not replace identifying the cause.
When can window adjustment help?
Adjustment corrects alignment
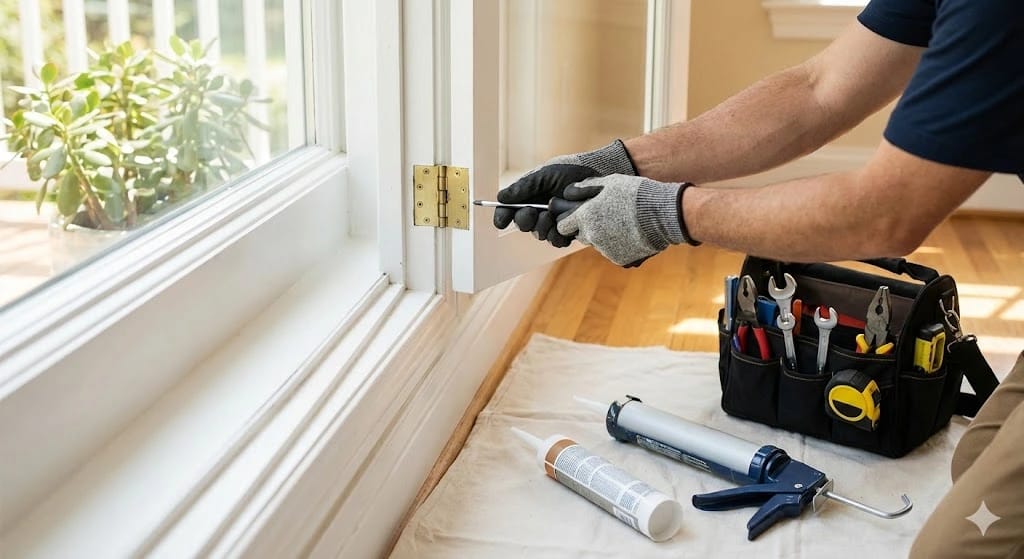
Adjustment may be appropriate when the components are mechanically serviceable and the issue comes from sash alignment or the way the hardware operates. The available adjustment depends on the specific hardware system and the adjustment points designed into it.
Adjustment cannot repair a cracked gasket, a damaged component or a leaking frame-to-wall joint. The affected area should therefore be identified before settings are changed.
Why should you not increase compression at random?
There is no single compression setting that suits every window. Hardware systems differ in design and adjustment range, and increasing compression will not solve a draught if the source is the gasket, sash geometry or the installation joint.
We discuss seasonal compression and the so-called “winter mode” separately in our guide to winter–summer window adjustment.
When might the gasket be the problem?
What can indicate gasket damage?
Visible cracks, missing sections, permanent deformation, sections that have come out of the groove or other changes affecting the gasket's position and sealing function are reasons to inspect it more closely. Replacement should only be chosen after confirming that the gasket is actually the source of the problem.
Why does gasket replacement not always help?
If the leak comes from sash alignment, the hardware or the joint between the window and the building, replacing the gasket alone will not remove the cause. That is why gasket replacement or other sealing work should be chosen only after the source of the leak has been identified.
When should the window installation be checked?
Air near the frame does not identify the failed layer
Air movement at the frame-to-wall junction is a reason to inspect the installation joint, but it does not tell you which material or layer needs repair. The way the joint is built can vary, so the location of the draught alone is not enough to choose a sealing method.
Why does the repair depend on the existing joint?
Before repair, the actual leakage path, the construction of the existing joint and its condition should be established. Only then can the repair method and materials be selected. There is no single repair method for every frame-to-wall joint.
How to seal a window — what not to do blindly
Do not add a random extra gasket
An additional gasket of unknown profile or thickness can change the way the sash closes without addressing the actual leak. If gasket replacement is needed, the replacement must be suitable for the specific window.
Do not increase compression without checking the hardware
More compression is not a universal fix for a draughty window. An unnecessary adjustment can change how the mechanism operates and increase the load on the gasket or hardware, while the leak remains if its source is elsewhere.
Do not cover drainage openings
Do not cover drainage openings or channels built into the window. Blocking them can interfere with water drainage and create another problem instead of solving the draught.
Do not seal the frame-to-wall joint with random materials
If the installation joint is suspected, identify the leakage point and the existing joint construction first. Applying silicone, foam or another material without that assessment may fail to address the actual leakage path and can make later repair more difficult.
When is it worth booking a service visit?
Professional help is worth considering when the sash rubs or will not close correctly, the handle sticks, there is visible gasket or mechanical damage, airflow appears to come from the frame-to-wall joint, the source remains unclear, or a previous DIY adjustment made the window operate worse.
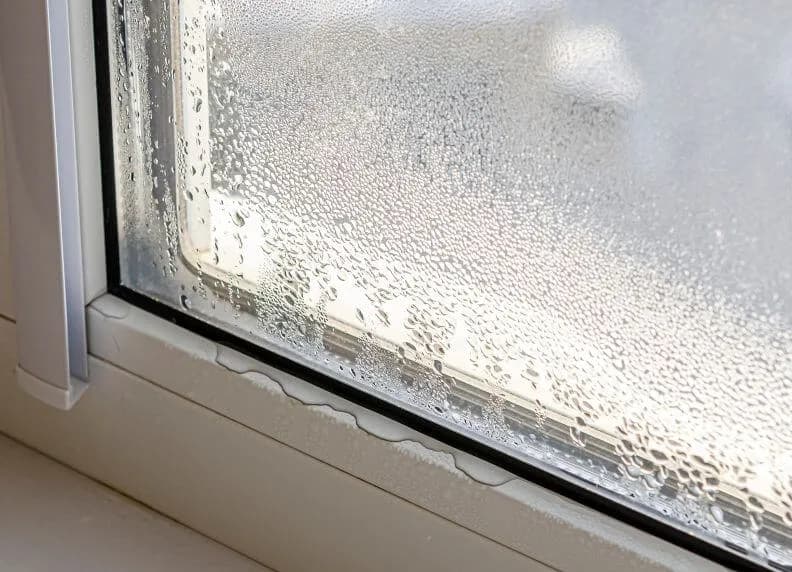
Damp or mould around the window also needs its source identified, but it does not always mean the window itself is leaking. Possible causes include ventilation, cold surfaces, the installation joint, water ingress from outside or another building-related issue.
How is a draughty window diagnosed?
Diagnosis starts by establishing where and under what conditions the draught occurs. The sash operation, gasket condition and seating, hardware and — when the symptom is around the frame — the frame-to-wall joint are then checked. The repair scope should only be chosen after the cause has been identified.
As part of our window repair service, the initial diagnosis and technician's visit are free of charge. After identifying the cause, we explain the required work and its cost before starting the repair. We provide a warranty on completed services and materials used.
Cold air from a window — the key rule
Do not start by choosing the repair. Start by identifying the location and cause of the leak. A draught between the sash and frame may require checking the gasket, sash alignment or hardware. Air movement around the frame can direct attention to the window-to-building joint. If the area around the window simply feels cold but there is no clear airflow, the problem may have a different cause from air leakage.
Three leakage locations — three different directions
If inspection confirms a damaged or permanently deformed gasket, the next step may be gasket replacement. If the gasket and hardware are mechanically sound but the sash needs alignment correction, window adjustment may be appropriate. If airflow is found at the joint between the frame and the building, the window-to-building sealing joint should be assessed separately. These scopes are not interchangeable — the choice should follow the location where the leakage actually occurs.