If a PVC window has started behaving differently, do not begin by reaching for an adjustment key or ordering parts. First carry out a short step-by-step inspection. The goal is not to diagnose everything yourself, but to establish what changed, where it happens and during which movement.
Follow the steps in order and do not change hardware settings until you understand which part is linked to the symptom.
Step 1. Open and close the sash several times
Watch the full movement. Check whether the sash rubs, needs to be lifted or pushed by hand, and whether the problem always appears in the same place. Note the exact edge and point in the movement instead of simply saying that the window is “hard to use”.
Step 2. Check how the handle works
Move the handle slowly through its normal positions. Look for a new resistance, skipping, unusual play or a movement that no longer produces the expected response from the mechanism. If the handle turns without operating the hardware or jams only with the sash closed, do not assume that replacing the handle alone will solve it.
Step 3. Inspect the seal around the accessible perimeter
Look for cracks, cuts, missing sections, parts pulled out of the groove and permanent deformation. Do not remove a serviceable seal just to inspect it. A draught is not proof that the seal is worn; sash position, hardware or another joint may be responsible.
Step 4. Check accessible drainage and clean without dismantling
With the sash open, inspect visible drainage openings and remove loose dirt from accessible frame, sash and seal surfaces. Do not enlarge drainage holes or push sharp metal tools into them. Lubrication is maintenance, not a way to force a mechanism that has suddenly started sticking.
Step 5. If the problem is a draught, locate it instead of increasing compression
A sheet of paper can help compare resistance at several points of the same closed window, but it does not measure compression force or identify the cause. Do not start by increasing “winter pressure”; an unnecessary change can load the seal and mechanism without removing the draught.
Step 6. Check the glazing and the area around the frame
Condensation on the room-side surface and persistent fogging between panes are different symptoms. If moisture appears around the frame, sill or reveal, photograph the location and note whether it occurs after rain, in strong wind or independently of weather. Do not add sealant before identifying the path of water entry.
Step 7. Photograph hardware markings and the initial settings
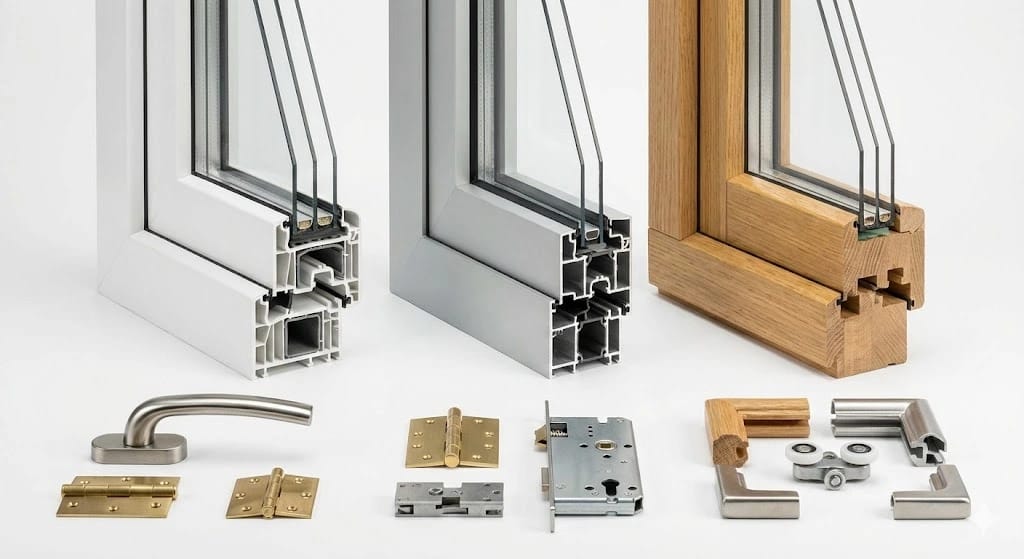
If the issue concerns the mechanism, photograph visible markings on metal parts with the sash open. If you know the system and intend to make a minor adjustment, record the starting position, change only one parameter at a time and make small corrections. If you do not know what an adjustment point controls, do not turn it by trial and error.
Step 8. Assign the symptom to the next path
If cleaning or maintenance solved the issue, stop there. If a sound sash is misaligned and you know the system, window adjustment may be the next step. A physically damaged seal, failed glazing unit or malfunctioning mechanism needs a different path. If the cause remains unclear, do not expand the DIY scope.
When this inspection should end with professional service
Stop DIY attempts when the handle no longer controls the mechanism, the sash has clearly dropped or is unstable, a load-bearing hinge or hardware component is damaged, the mechanism jams, glazing replacement is required or you cannot identify the source of leakage around the window-to-building joint.
For the limits of safe DIY work, see when not to repair a window yourself. If diagnosis or repair is needed, start with window repair; for faults specific to PVC constructions, see PVC window repair.
Inspection complete — what you should know after 15 minutes
You do not need to know the technical name of the fault. You should know where the symptom occurs, during which movement, whether it concerns the handle, sash, seal, glazing or area around the frame, and whether it appeared suddenly. If you want to know whether a sound window should be adjusted on a fixed schedule, see how often windows should be adjusted.
The best outcome is not “I repaired everything myself”, but “I know exactly what changed and what next step makes sense”.