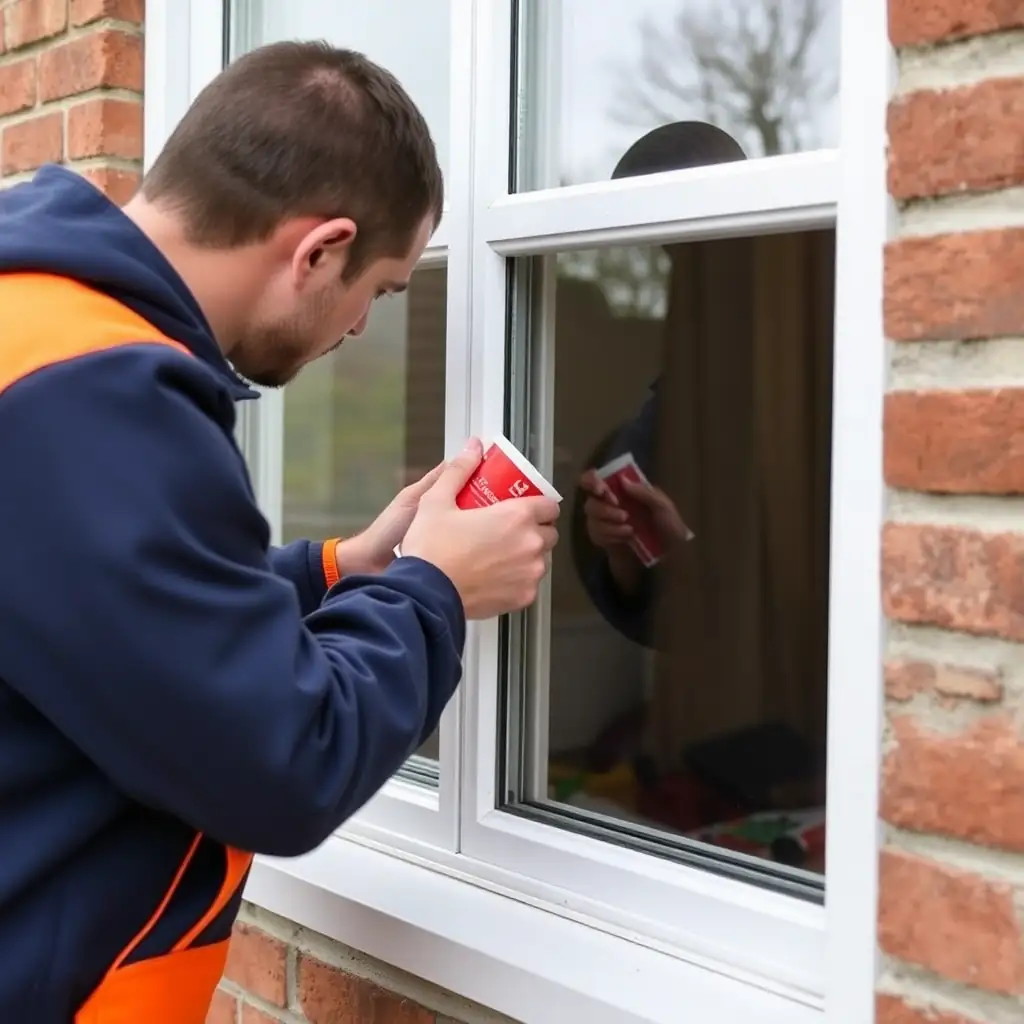
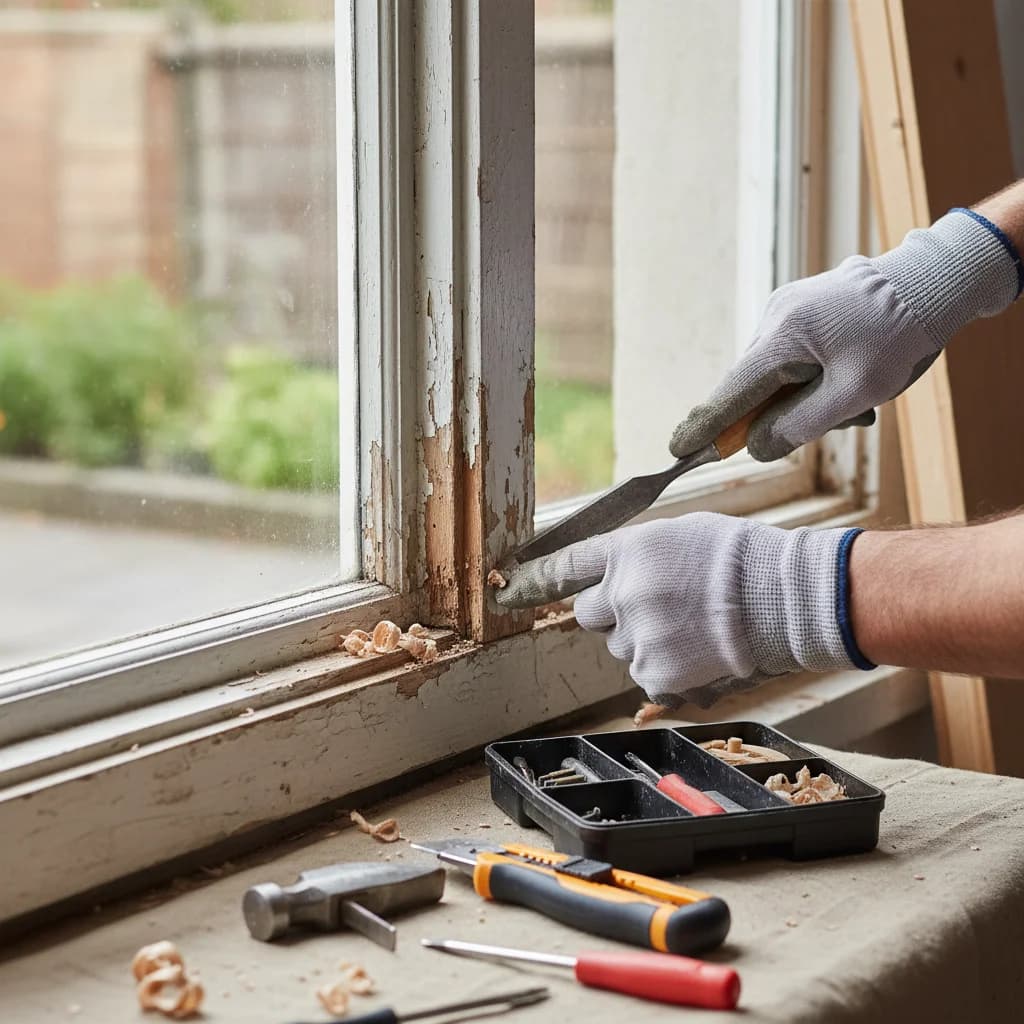
"How to repair a window yourself" videos are one of the more popular genres of online guides. Some of them — especially on basic maintenance — can safely be applied and help avoid a service visit where one is not really needed. But another part teaches actions that, in a specific window, can deepen the problem rather than solve it.
The line between safe DIY and work better left to someone familiar with the hardware system does not run where the look of the task suggests. Replacing a handle looks simple and can be a trap. Plain observation looks modest and is one of the most valuable things you can do yourself.
First separate observation from intervention
This guide is not intended to repeat instructions for routine maintenance and minor DIY work. Those tasks are covered separately in our guide to what you can safely do yourself on a PVC window. Here the more important question is the other side of the decision: how to recognise when another DIY attempt stops being a sensible experiment.
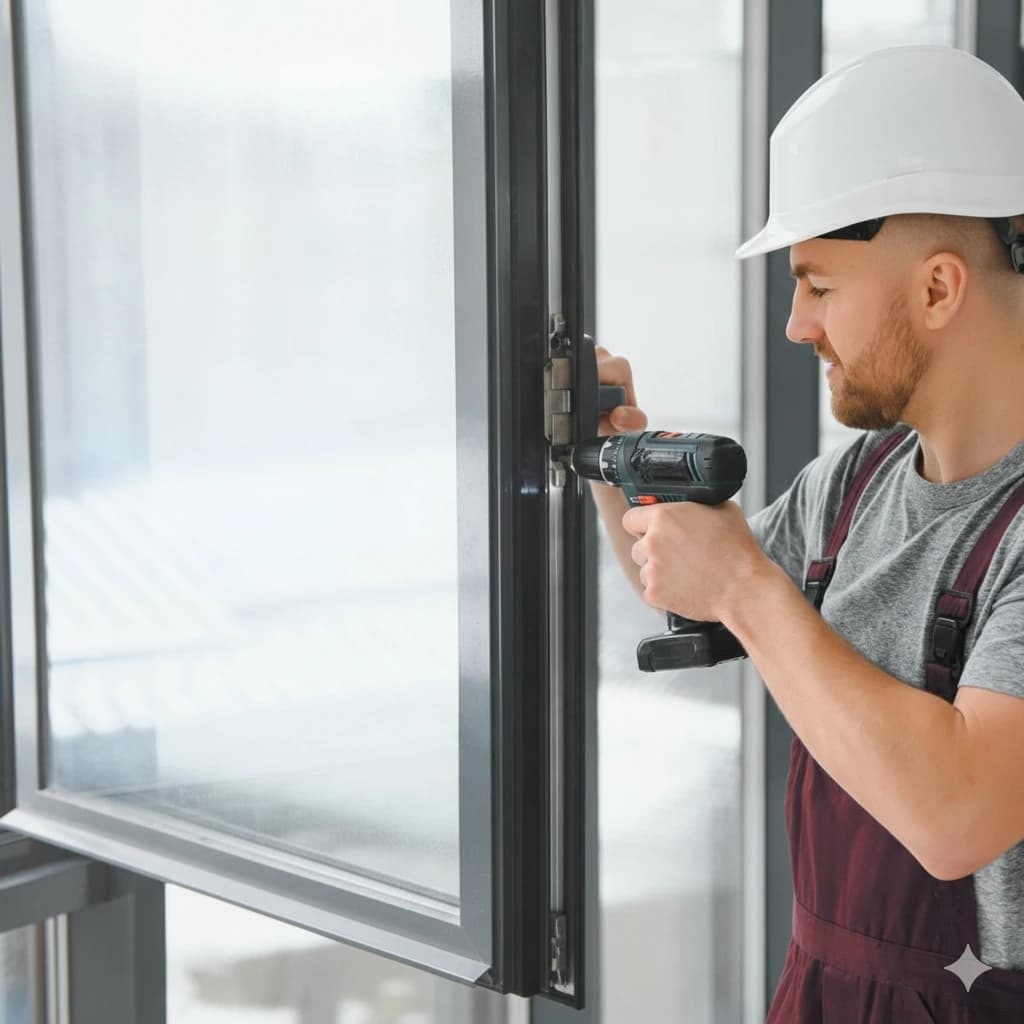
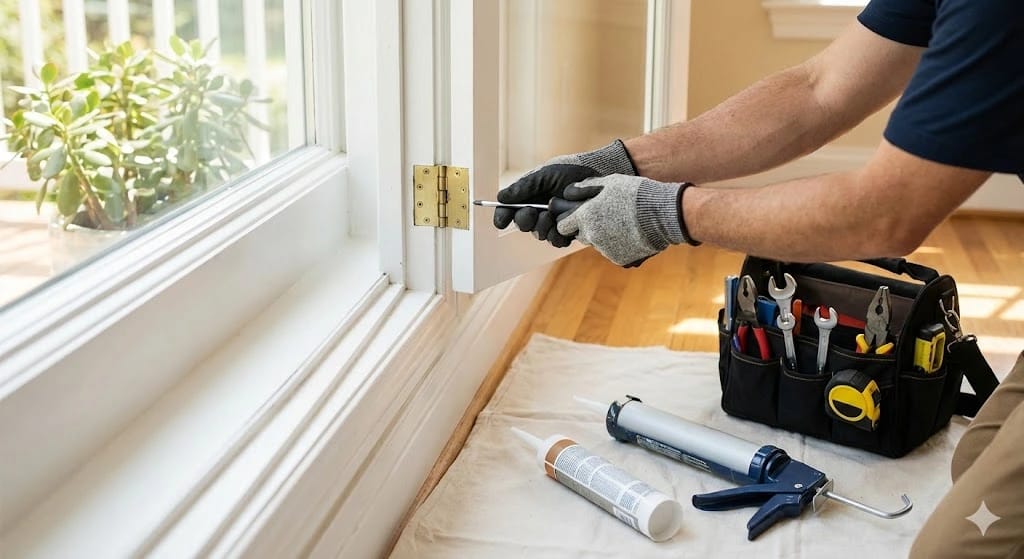
Observing where a sash rubs, how the handle operates, the visible condition of a gasket or when a symptom occurs usually does not alter the window. Risk increases when the proposed solution requires changing sash geometry, working inside the mechanism, removing a load-bearing component or handling an insulating glass unit.
Four situations in which the cost of a mistake rises quickly
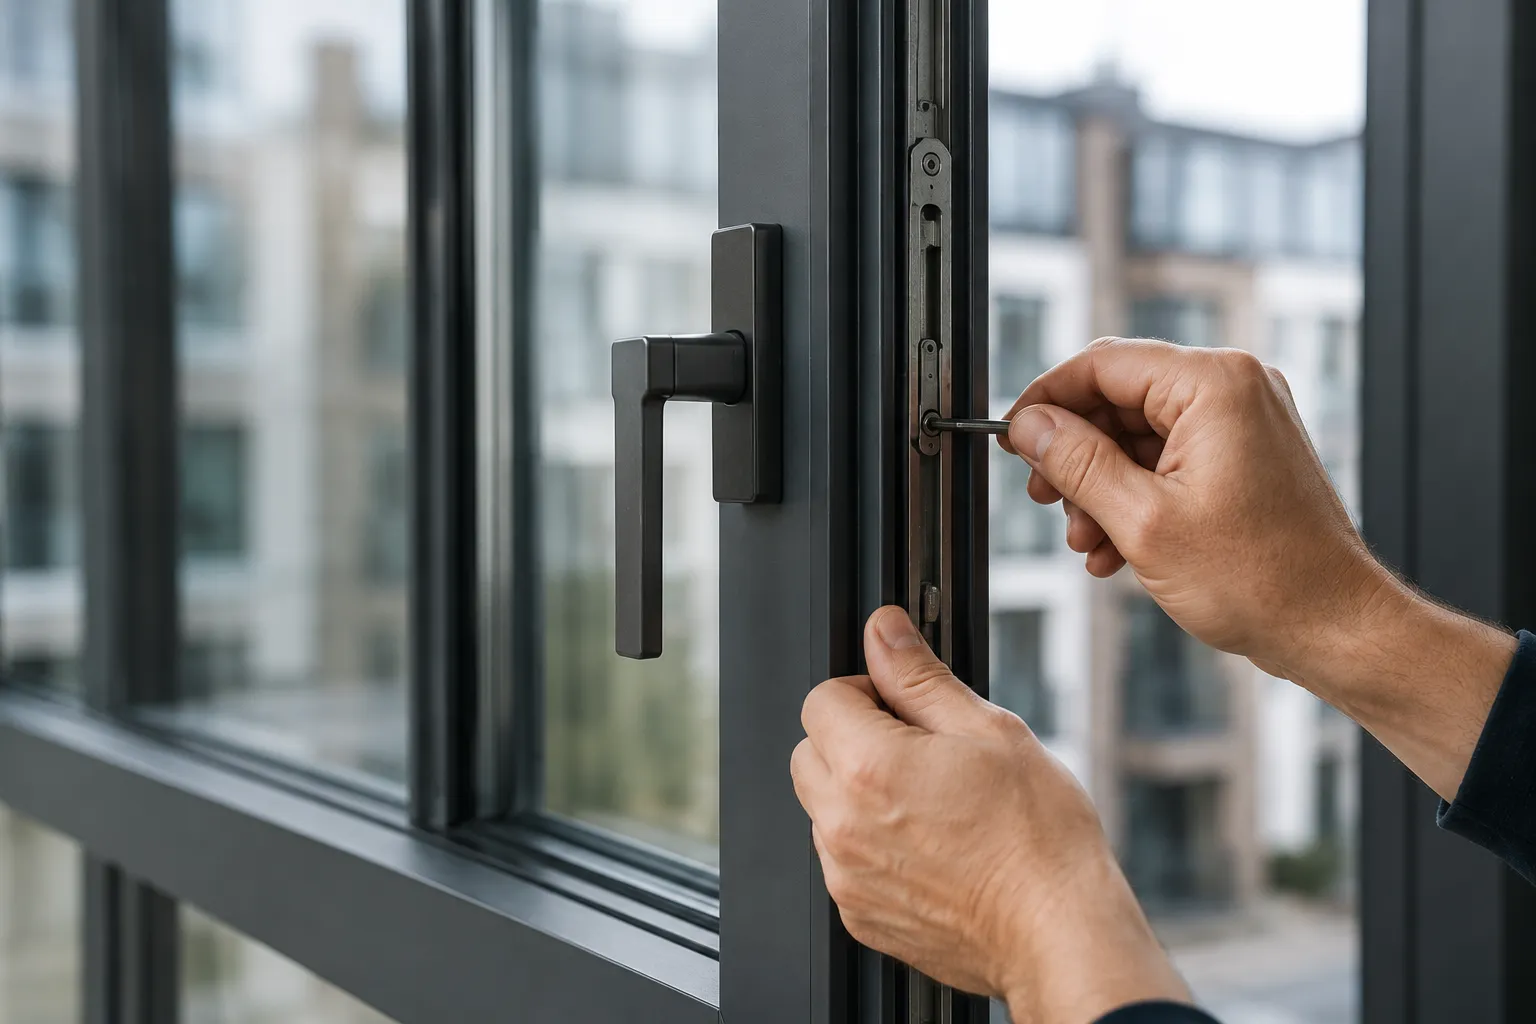
An unidentified hardware system. If you do not know which adjustment point controls a specific function, changing settings can move the problem elsewhere instead of solving it.
A load-bearing or supporting component. A loose, damaged or unstable hinge, a heavy sash, or a component whose removal changes how the assembly is supported is not a good place for trial and error.
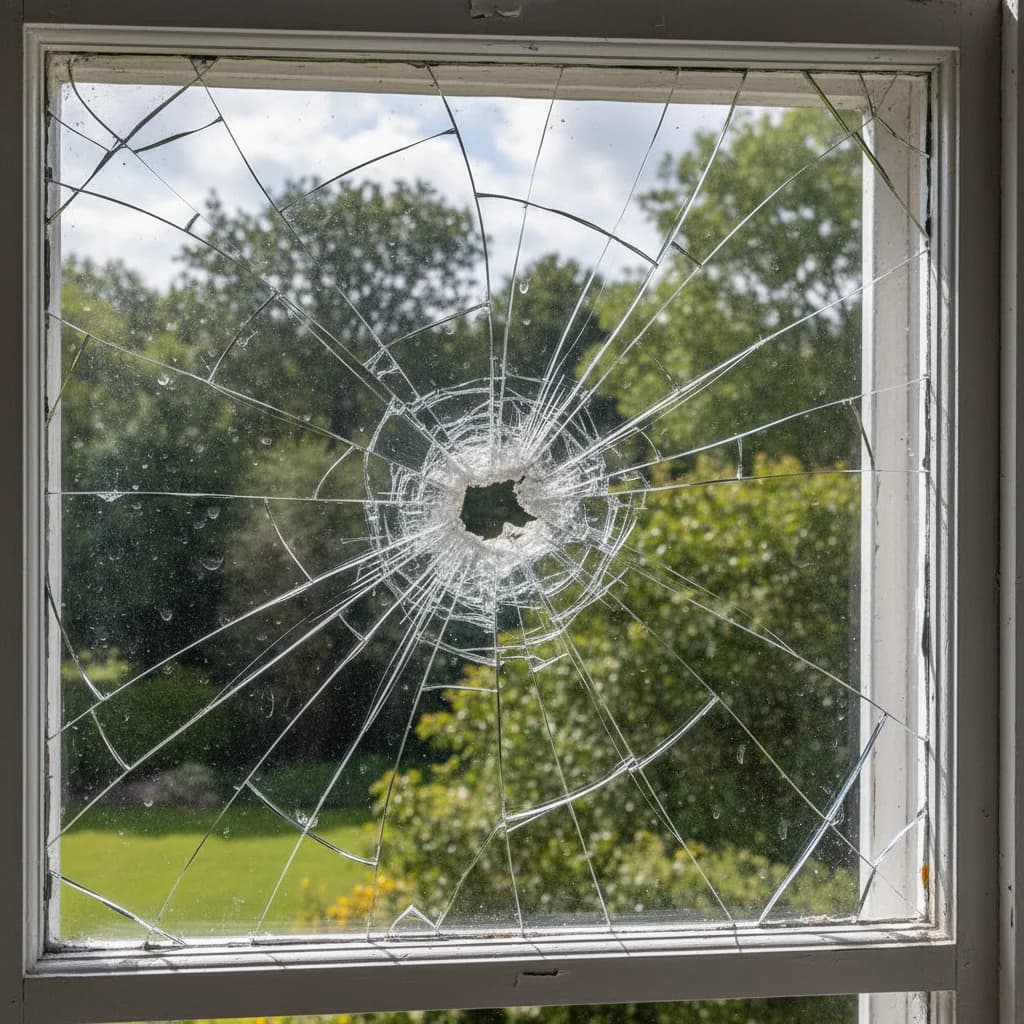
Damage inside the mechanism or glass unit. A handle that no longer drives the mechanism, damaged perimeter hardware or moisture between the panes points to a problem that another external adjustment will not solve.
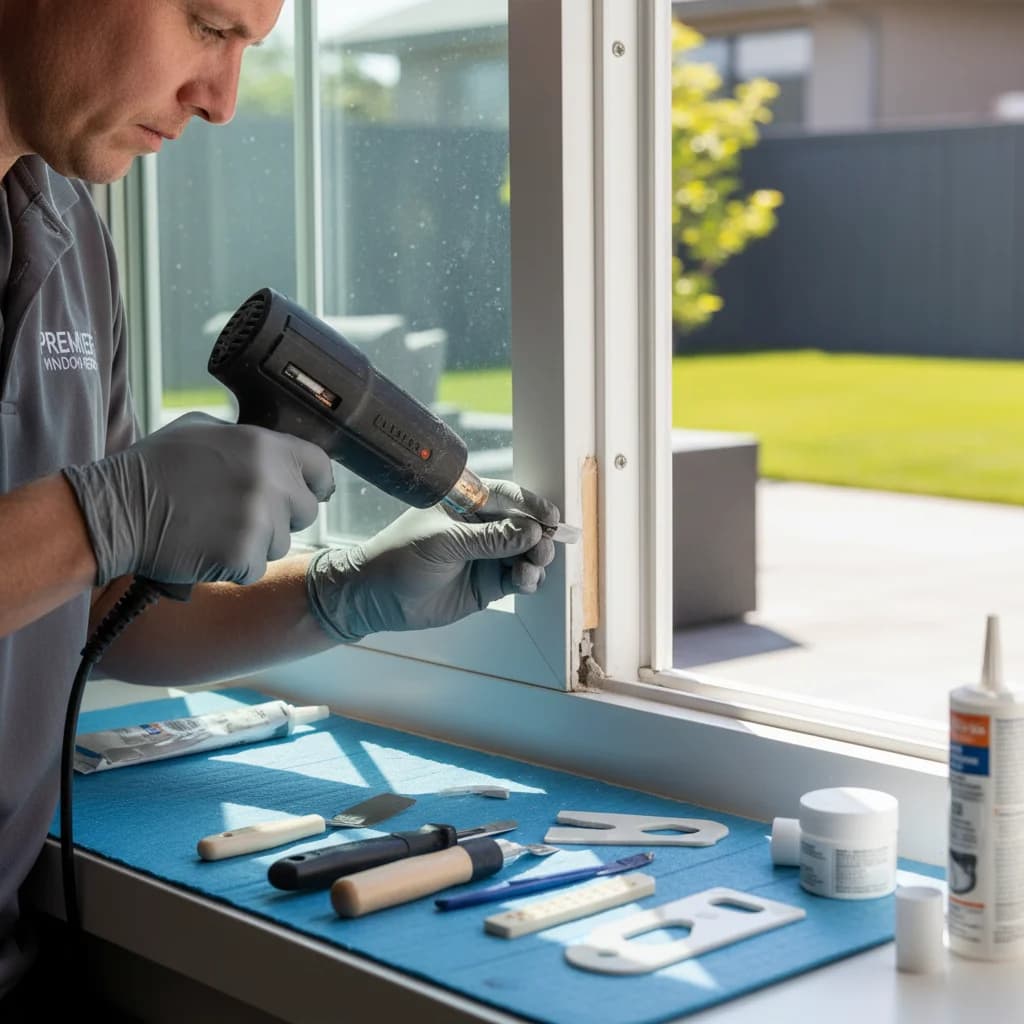
An uncertain leak source. If it is unclear whether air or water is entering at the sash-to-frame interface, the gasket or the window-to-building joint, adding sealing material can make later diagnosis more difficult.
How to make an honest decision
Before any window job, three questions are worth asking. Do I actually know the cause of the problem, not just what the symptom looks like? Do I know which hardware system is in my window and do I have the right parts or products? Is the cost of a mistake — a broken pane, damaged hardware, a leak that is hard to reverse — acceptable to me?
If the answer to any of these is "not sure", ordering an inspection is usually the cheaper and quicker route. The initial diagnosis is free, and a well-diagnosed cause usually resolves in one properly matched repair — instead of a chain of provisional fixes.
When a service visit should not be delayed
Symptoms where it is better not to experiment:
— the window will not close despite attempts to adjust with the handle,
— the handle works with no resistance or fails to move the mechanism,
— the sash has dropped and there are clear signs of rubbing,
— mist or droplets are visible between the panes,
— a draught along a specific edge despite a replaced or lubricated seal.
Within our window repair, the scope of work is always matched to the state of the specific window. More practical distinctions are in the articles window not closing — adjustment or repair and what you can do yourself on a PVC window.
Related content
See also: Read here how much glass unit replacement costs with a professional. Initial diagnosis and travel are free of charge.
When DIY does not make sense
Self-repair of windows looks tempting when the problem seems small. In practice, however, many symptoms — a stiffer close, draught with the window closed, loose handle — can point to several causes at once. Sash alignment, hardware wear, gasket condition and frame geometry can all interact. A single "quick fix" then not only fails to solve the problem but sometimes makes it worse.
Especially risky are attempts to adjust hardware without knowing the specific system, replacing components without confirming the diagnosis, and sealing without locating the actual leak. In such cases it is better to limit DIY to observing symptoms, cleaning accessible surfaces and noting the conditions in which the problem occurs.
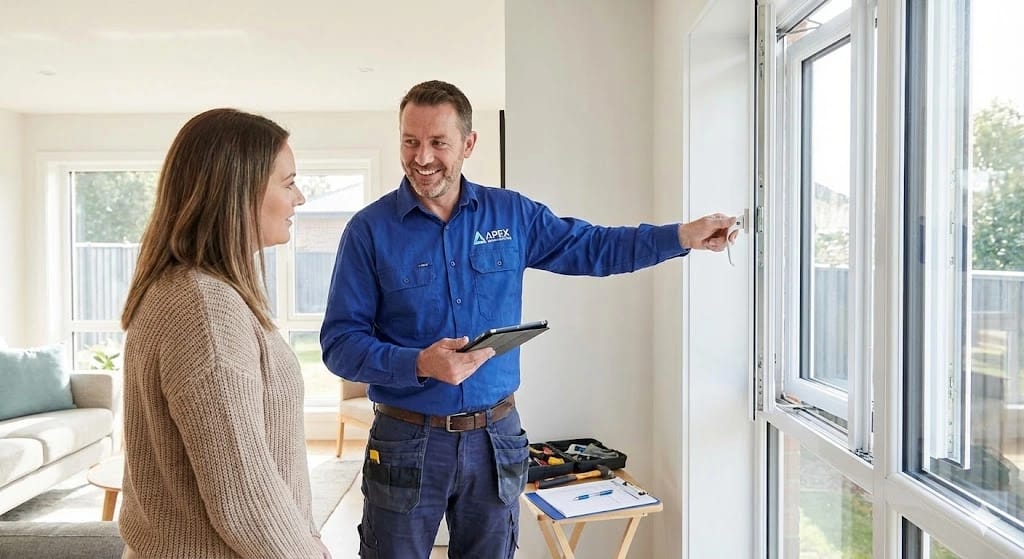
A professional inspection can include window adjustment, gasket replacement, mechanism replacement or a full window service. The scope follows the diagnosis, not guesswork. For guidance on choosing a specialist, see how to choose window repair services. Initial diagnosis and travel are free of charge.
What you can safely do yourself, and what to leave to a specialist
Safe DIY comes down to observing how the window works, noting the conditions in which the problem appears, and keeping profiles, gaskets and accessible hardware areas clean. It helps to note at which moment of sash movement resistance appears, whether the handle feels different from before, and whether any damage is visible. A photo of the starting state is one of the most useful things you can do before the service visit.
Beyond observation and basic maintenance, many actions require identifying the specific hardware system and knowing its adjustment options. Adjusting compression without recognising the system, replacing components without confirming the diagnosis, or trying universal products without checking whether they match the mechanism, can result in the problem returning faster and in worse shape. That is why the safe boundary of DIY usually ends where interference with the mechanism begins.