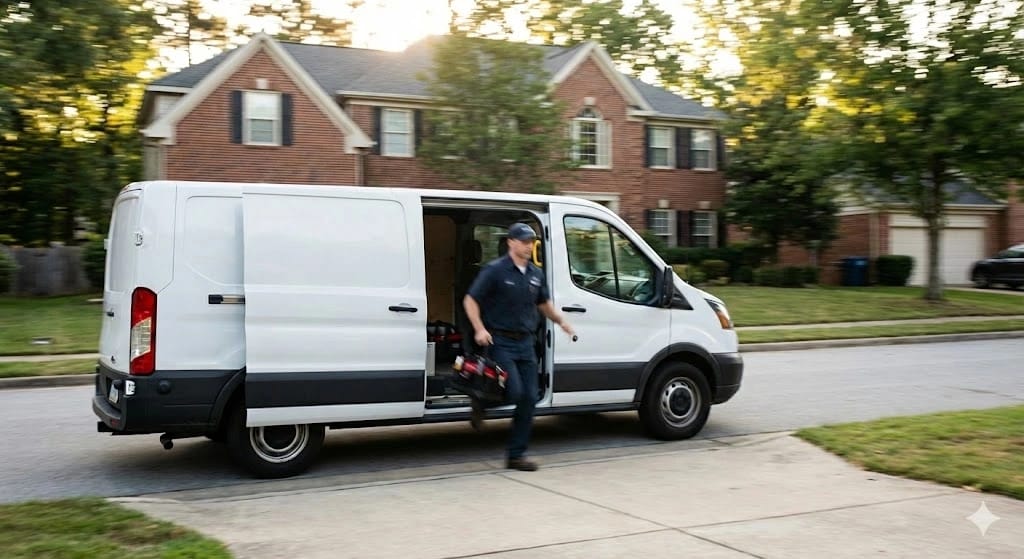
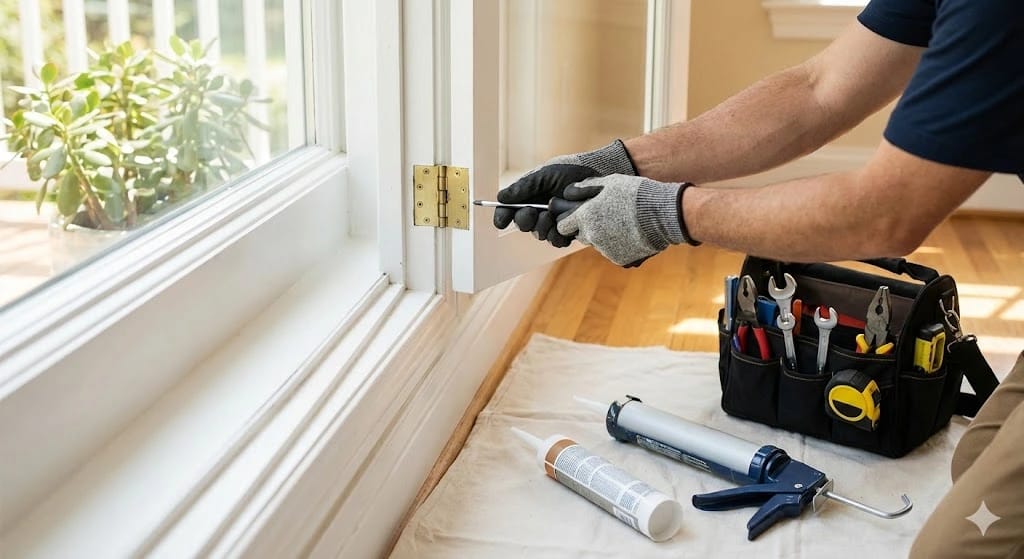
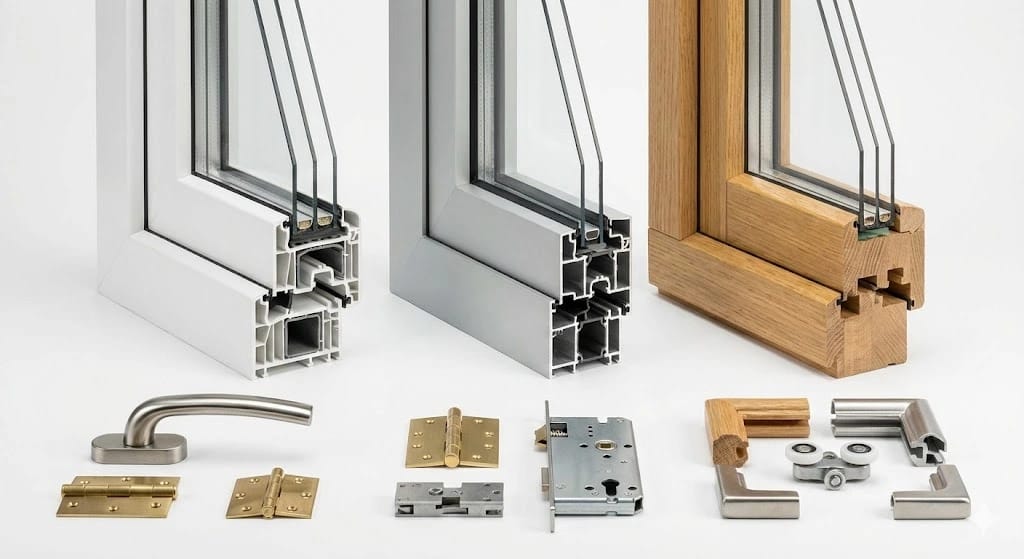
Window service may involve adjustment, seal replacement, hardware repair or glazing unit replacement. Good service therefore starts by collecting information about the symptom, not by promising a specific repair.
A clear process is: report → preparation → diagnosis → scope and price → customer approval → work.
Stage 1. Report the symptom, not the part you think is faulty
Describe what changed: where the sash rubs, when the handle becomes difficult or where a draught is felt. Include the number of windows, when the problem started and the approximate age if known.
Stage 2. Photos: what to prepare before the visit
Useful photos show the whole window, the exact rubbing or leaking area, damaged handles or hardware, visible hardware markings, seal damage and places where moisture appears. Photos can help prepare a visit, but they do not replace an inspection where movement or leakage paths must be checked.
Stage 3. What can be established before arrival — and what should not be promised
A good description and photos may allow an approximate scope and price range to be discussed. The final cost should not be presented as certain when the same symptom can have several causes.
Stage 4. Diagnosis on site
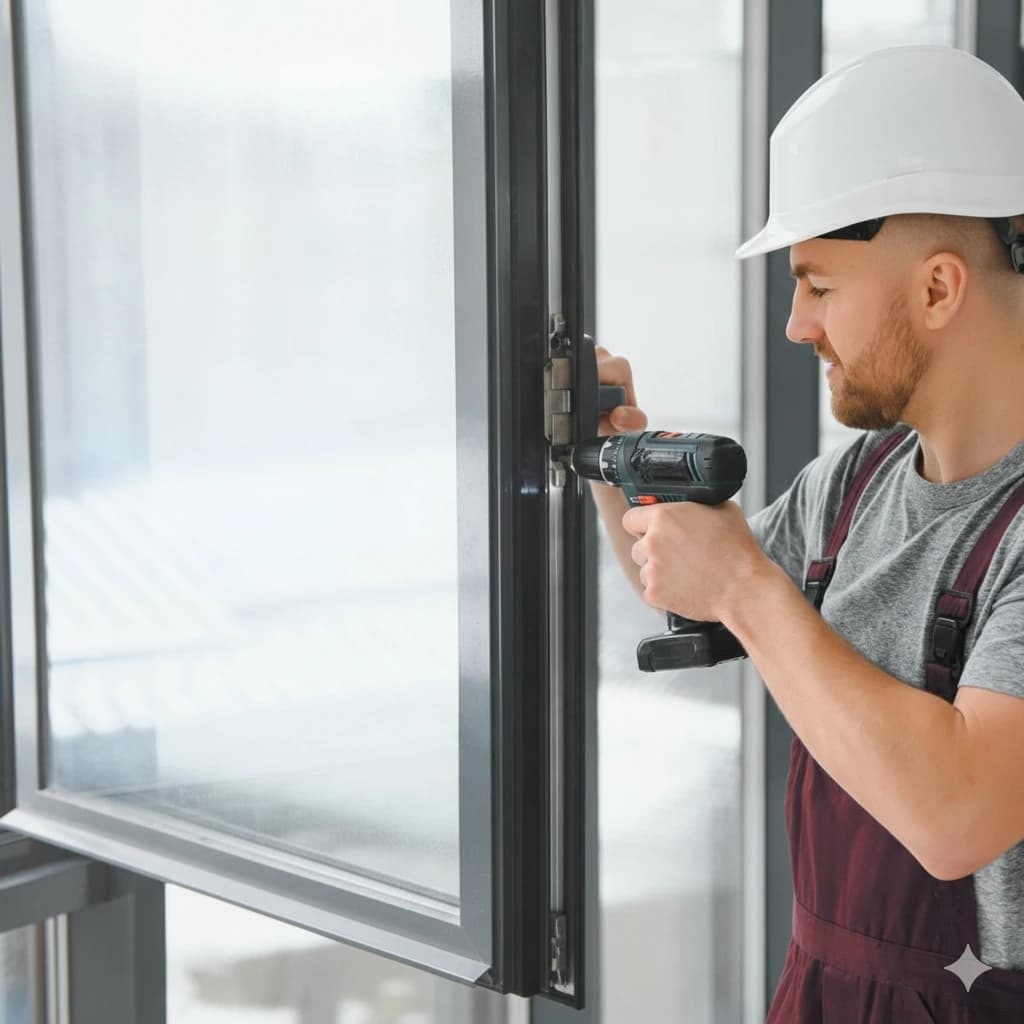
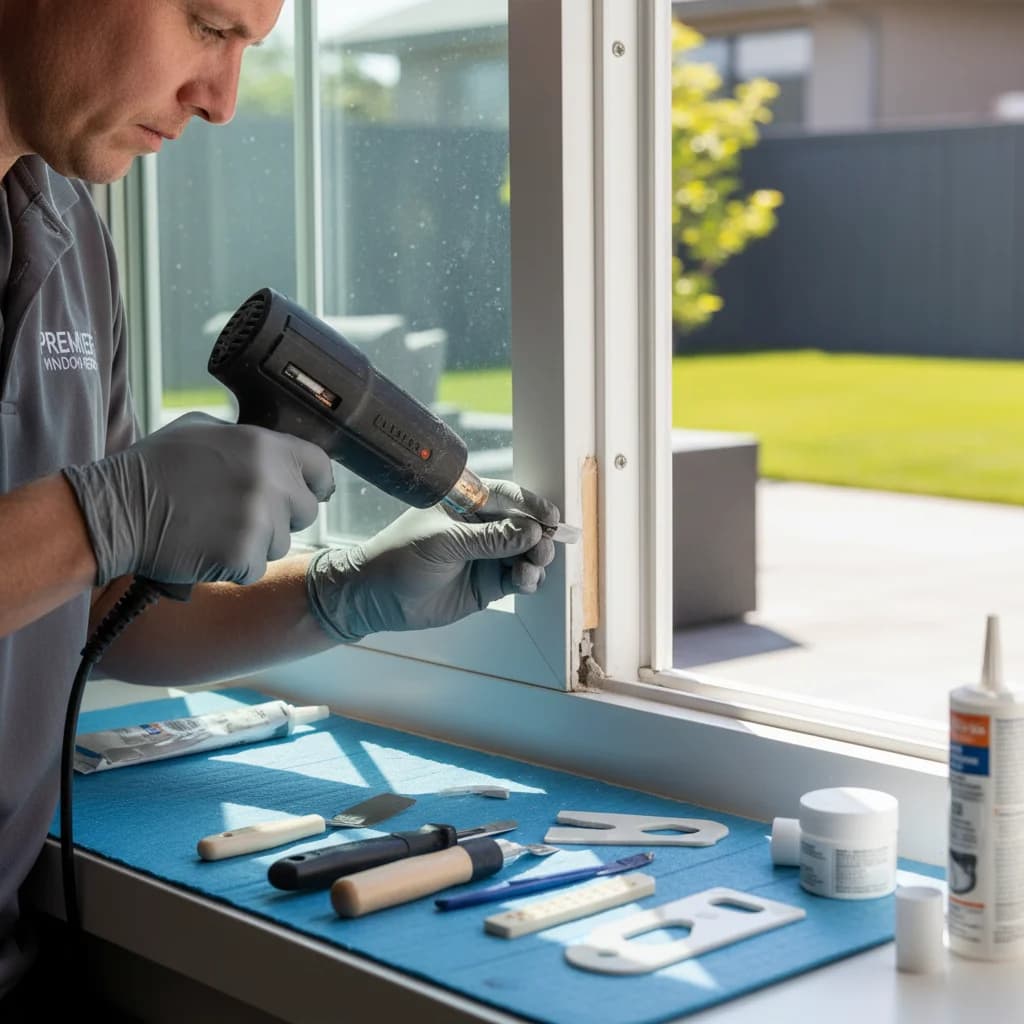
The reported symptom is checked first. Depending on the problem, the inspection may cover sash movement, handle and hardware operation, seals, glazing or the location of moisture and leakage. Only then should the work be assigned to adjustment, maintenance, a specific part or further diagnosis.
Stage 5. Scope and price before work starts
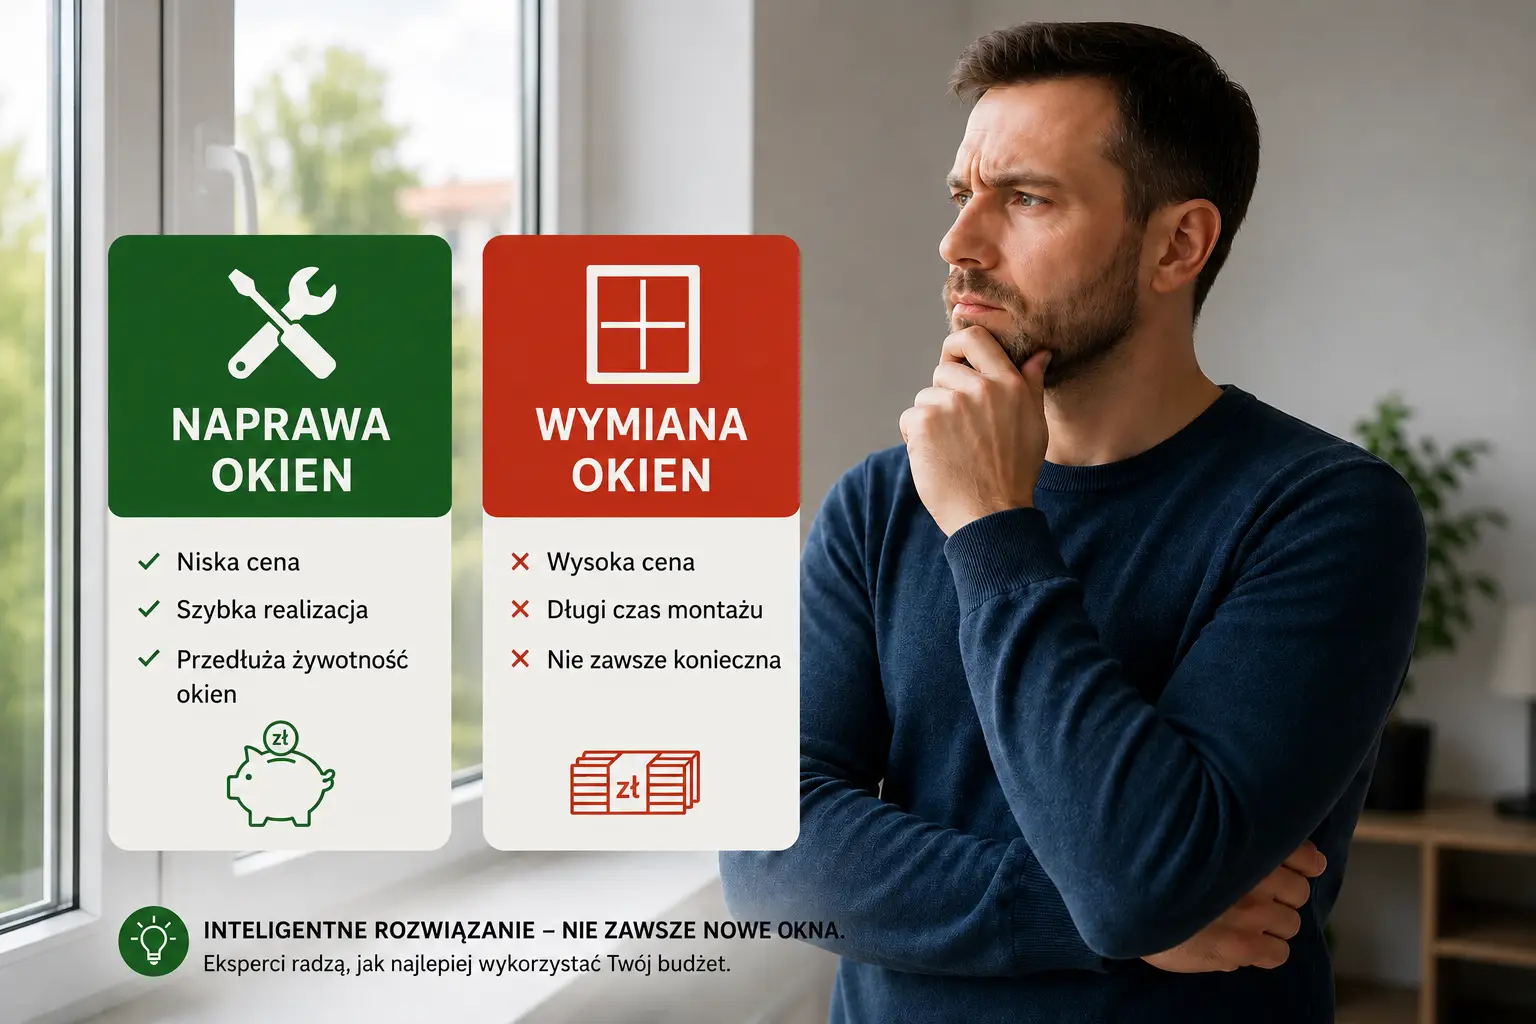
The customer should know what will be done, the cost and whether parts and materials are included. If several issues are involved, separating them into specific items makes it easier to see what is required to remove the reported fault and what is an additional proposal. If the broader question is whether the construction is still worth repairing, see when to repair or replace a window.
Stage 6. What if additional work is discovered
Not every defect is fully visible before work starts. If another component or a different cause is found, the change should be explained before extra work is carried out: what was found, why the scope changes and how the price changes. If the scope remains unclear, ask for an explanation or compare a larger proposal with another provider; see how to choose window repair services.
Stage 7. After the work: check the result, not only the task list
Return to the original symptom. If the sash rubbed, check its movement; if the handle was the problem, test normal operation. Keep the agreed scope for larger jobs and know what the warranty covers. In our window repair service, the initial diagnosis and technician travel for assessment are free within our service area.
When the process should raise questions
Ask for clarification if a final diagnosis and price are given without enough information or inspection where one is needed, if it is unclear what will actually be done, or if the scope changes without explaining why.
When more context helps before the visit
Some constructions need more background. See our guides to windows in large-panel buildings, windows in older tenement buildings, and choosing a trusted specialist in Katowice.
Where we provide local service
The diagnosis and scope-setting process is the same regardless of city. Local service information is available for Warsaw, Kraków, Wrocław, Poznań, Gdańsk, Łódź, Katowice and Szczecin.
One rule that organises the whole process
You do not need to know which part is faulty before calling. Your job is to describe the change as accurately as possible. The service provider’s job is to move from symptom to diagnosis and then explain the scope and price before carrying out the work.