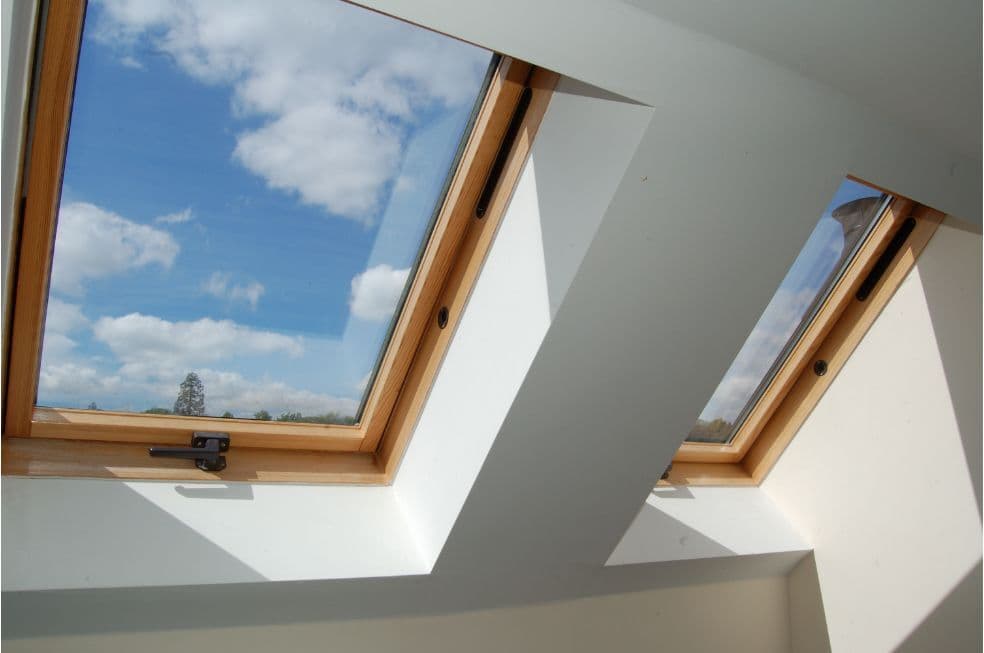
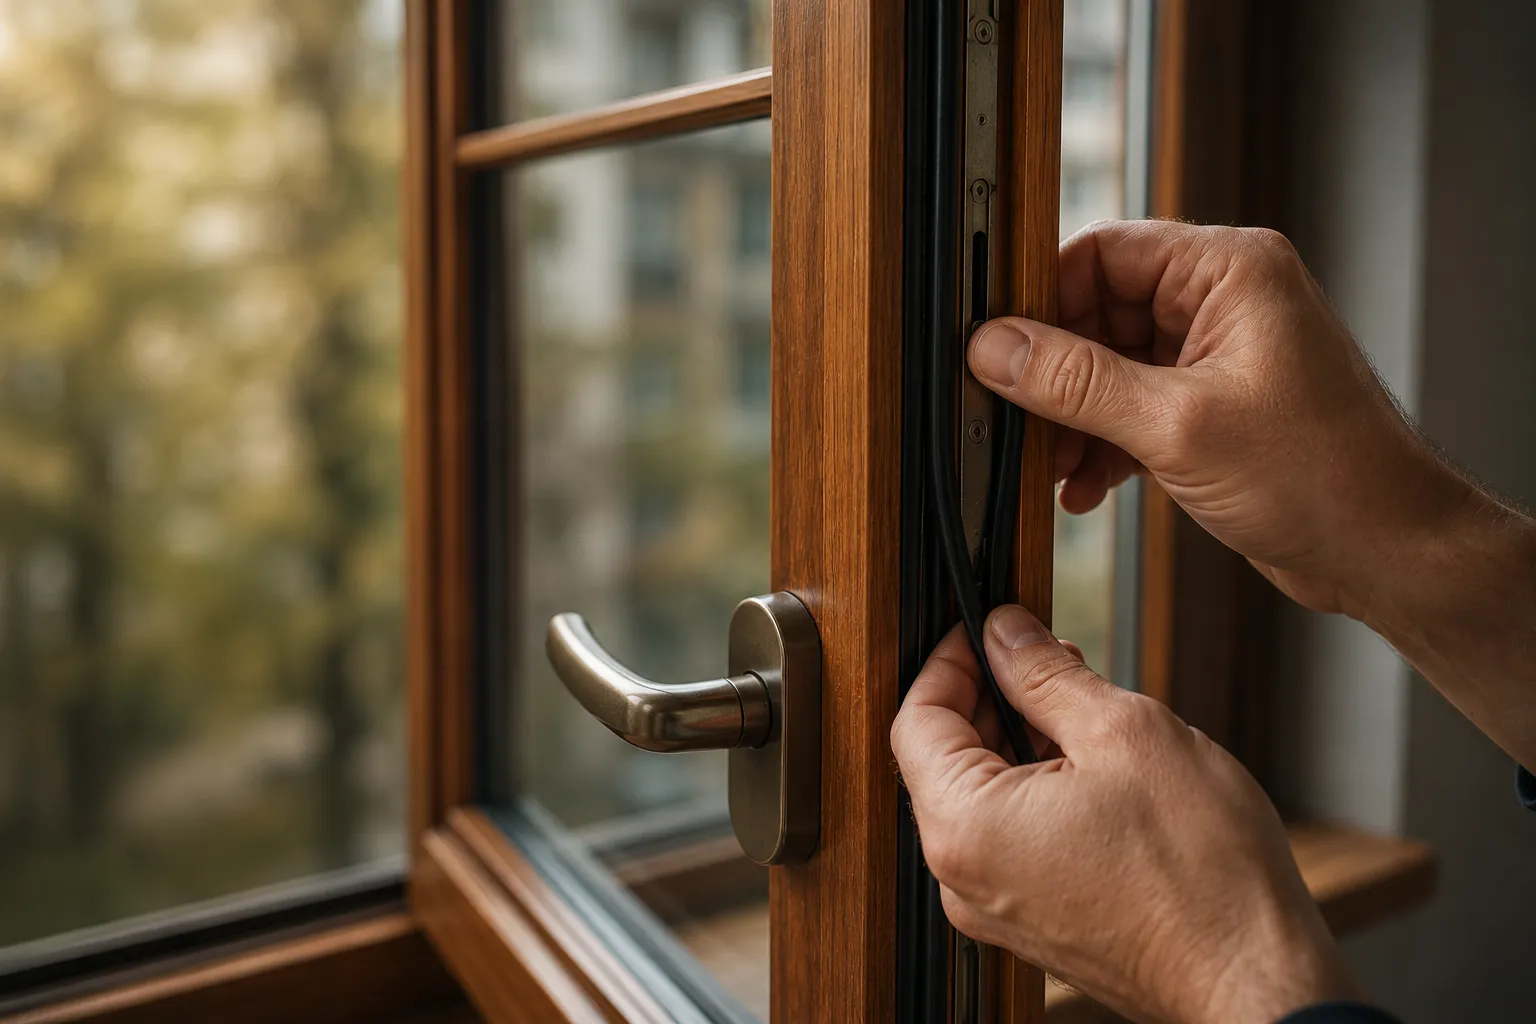
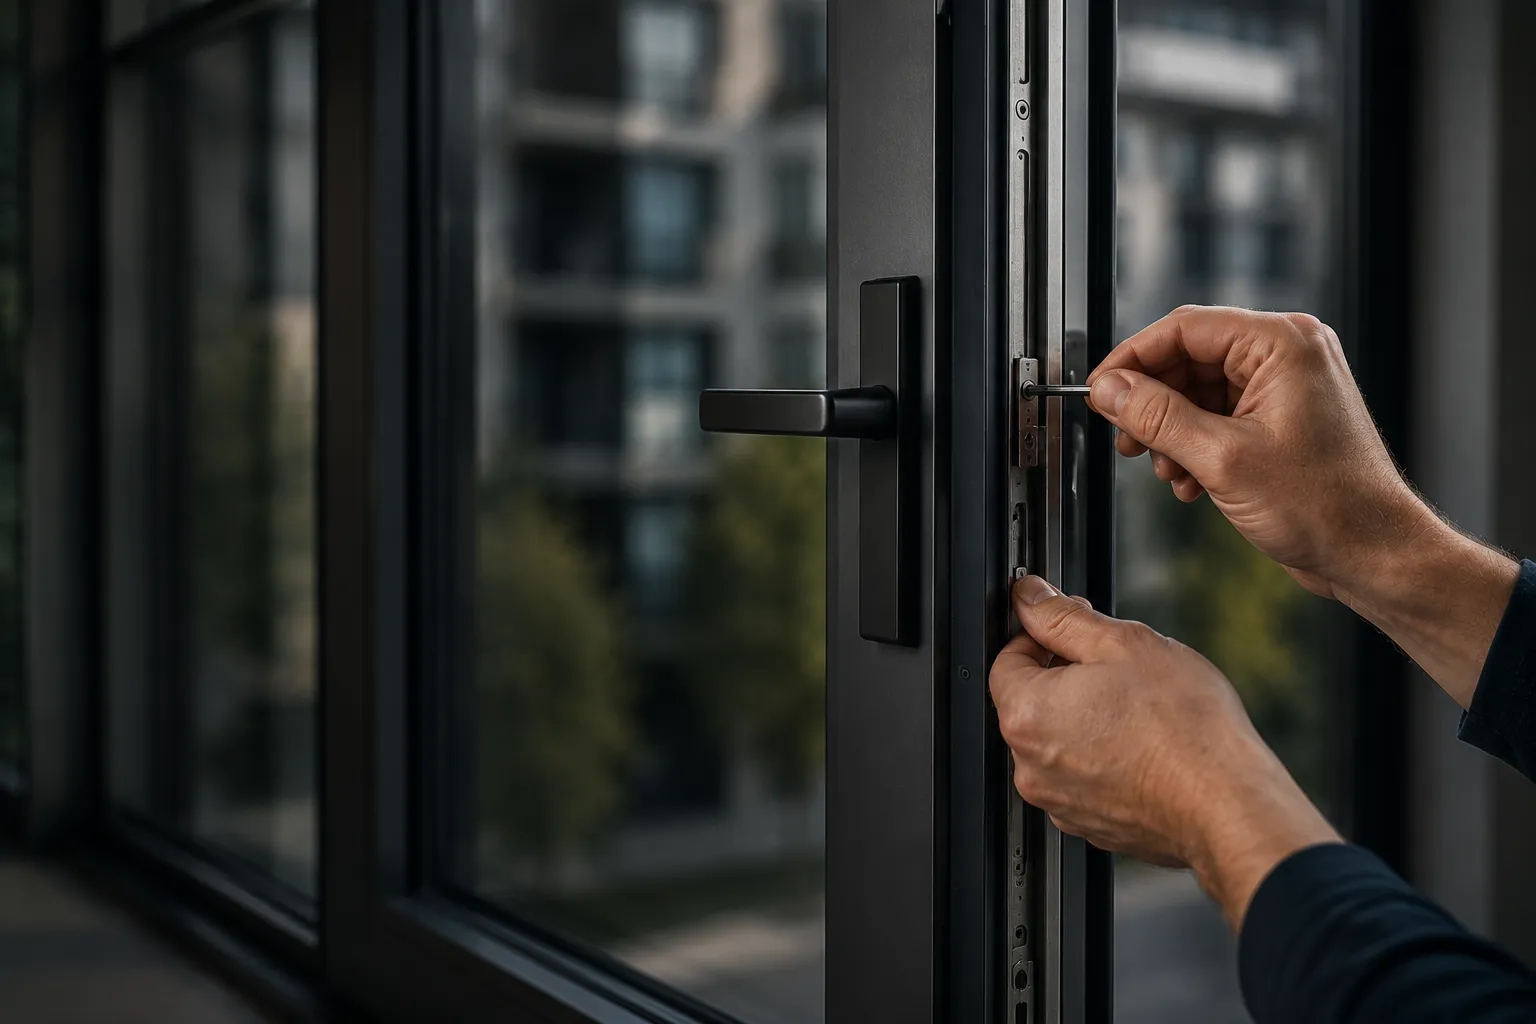
A roof window is part not only of the window system but also of the roof slope. When there is a leak, hard opening or moisture, it is therefore important to distinguish a fault in the window itself from a problem in its surroundings, installation or use.
That matters because similar symptoms can have different sources. A wet patch next to the window does not show where water entered the construction, and resistance during opening does not identify a specific mechanism component without inspection.
With a roof window, the place where a symptom appears is a clue — not necessarily the place where the fault originated.
Leak: first establish where the water is really coming from
When moisture appears around a roof window, the first instinct is often to blame a failed seal or damaged flashing. The position of the wet patch alone is not enough to make that diagnosis.
Water may become visible at the frame, reveal, ceiling or surrounding finish, but the visible trace does not always match the point where water entered the construction.
Before an inspection, note three things:
— when the moisture appears — during rain, after rain, or also without rainfall,
— under which conditions it becomes worse — for example wind-driven rain or low outdoor temperatures,
— where the trace first appears and whether its position changes.
These observations do not replace diagnosis, but they help narrow the direction of inspection.
Leak or condensation? Timing is an important clue
Not all moisture around a roof window comes from rainfall. If the problem appears mainly during rain or immediately afterwards, the window and its connection to the roof need to be checked for water ingress.
If moisture also appears without rainfall, particularly in cold weather, condensation also needs to be considered.
This is still not a remote diagnosis. Timing only helps separate two different directions that need different checks.
More about this is explained in our guide to roof-window sealing and condensation.
Hard opening: observe the symptom instead of guessing the part
If the sash becomes harder to open than before, several causes are possible. The issue may involve moving components or the opening mechanism, but it is also worth checking whether the sash rubs, jams in a particular position or appears misaligned relative to the frame.
Before arranging service, note:
— whether resistance is present throughout the movement or only at one point,
— whether the sash rubs against anything,
— whether the problem appeared suddenly or developed gradually,
— whether unusual sounds occur during movement,
— whether the window still closes and locks correctly.
If the sash clearly jams, do not overcome the resistance by force. Forcing movement can make later assessment harder or damage another component.
Handle and locking: identify the window model first
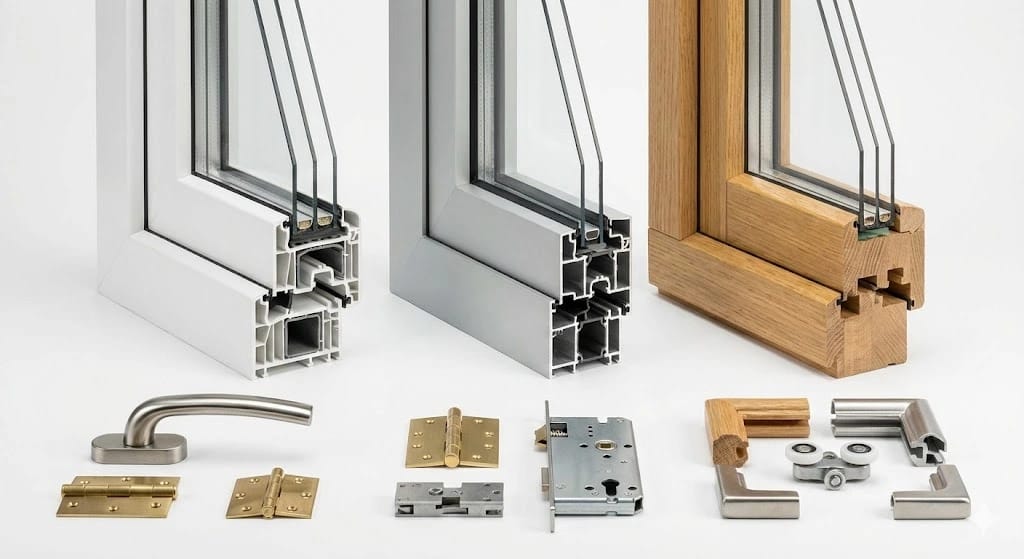
A damaged handle does not always mean a fault in the visible grip alone. Depending on the window design, the handle works with the mechanism responsible for closing or locking the sash.
Before buying a part, first identify the exact window model. The manufacturer and model designation can often be found on a rating plate or label visible after opening the sash.
VELUX, FAKRO, Roto and other manufacturers use different solutions, and compatibility may also depend on the specific product series or generation. A similar-looking handle is therefore not proof that it will fit the mechanism.
If replacement involves only accessible fasteners and the part is specified for the exact model, the job may be simple. If the handle does not lock the window, the mechanism resists or it is unclear which component is faulty, the cause should be identified first.
Mist between the panes does not automatically mean replacing the whole window
Persistent mist or droplets between sealed panes indicate loss of seal in the insulated glass unit. This is different from condensation on the inner glass surface.
A failed glass unit does not automatically mean the whole roof window needs replacing. If the remaining construction is in suitable condition and the correct glass unit is available for the model, replacing the glass unit alone may be possible.
The replacement method depends on the specific window construction. Some models may also require access from the roof side.
More practical detail is available in our guide to mist between the panes.
Electric roof window: first identify what has stopped working
In a powered roof window, the problem may involve not only the sash but also the power supply, controls, actuator, sensors or mechanical components. The fact that the window does not respond is not enough to identify the failed part.
Without dismantling anything, you can check:
— whether the controller or remote responds,
— whether other devices in the same system work correctly,
— whether the problem appeared after a power interruption or battery change,
— whether any visible obstruction is present in the opening,
— whether the device shows an error message or signal that can be checked in the instructions for that model.
If the actuator behaves unusually or the sash shows clear resistance, do not force movement.
What you can check yourself — and where safe DIY ends
You can safely start by:
— identifying the manufacturer and model,
— taking photos of the place where the problem appears,
— noting when moisture occurs,
— checking whether the sash rubs or jams in one position — without using force,
— checking visible dirt or obstructions accessible from inside,
— carrying out basic control checks according to the manufacturer's instructions.
The DIY boundary begins where the job requires:
— stepping onto the roof slope without appropriate protection,
— dismantling the flashing around the window,
— forcing a jammed sash or actuator,
— working with a heavy sash or glass unit without proper support,
— dismantling a mechanism before the fault has been identified.
The safest DIY diagnosis ends where dismantling, forced movement or roof access begins.
When diagnosis may require roof access
The fact that a symptom is visible from inside does not mean the whole cause can be assessed from inside.
External access may be needed to inspect flashing, the connection between the window and roof covering, components not visible from the interior, or to perform work required by the construction of a particular model.
The access required therefore depends on the fault, the window model and the roof construction — not simply on the name of the repair.
If checking the problem requires leaning outside the opening or stepping onto the roof slope, further diagnosis needs appropriate safety measures.
When to plan service — and when not to postpone diagnosis
Plan a service visit when:
— the sash has started moving with greater or uneven resistance,
— the handle or locking no longer works as before,
— persistent mist has appeared between the panes,
— the actuator or control operates irregularly,
— the same problem keeps returning.
Do not postpone diagnosis when:
— water actively enters the interior during rainfall,
— the window cannot be closed or locked correctly,
— the sash jams or its movement has become unstable,
— there is visible damage to the glass or a structural component,
— further checking would require roof access.
As part of our window service, we begin by identifying the source of the problem and only then define the required scope of work. If diagnosis needs additional access from the roof side, that can be planned after assessing the specific construction.
The initial diagnosis and technician's visit are free of charge. Before work begins, we explain the repair scope and cost.
The key point: start with the symptom, not the part
With a roof window, it is easy to name a failed part too quickly: a wet patch becomes “the seal”, resistance becomes “the hinge”, and an unresponsive electric window becomes “the actuator”. Similar symptoms can have different sources.
First establish when and where the problem appears, how the sash behaves and which window model is installed. Those details help narrow the diagnosis without unnecessary dismantling.
With a roof window, the place where a symptom appears is a clue — not necessarily the place where the fault originated. And the boundary of safe DIY comes before work that requires dismantling, force or roof access.
Related content
See also: window sealing. Initial diagnosis and travel are free of charge.